This is Java Full-stack project built as part of Cognizant Internship.
These are the following services provided:
- MVC Portal (MediClaim)
- Authorization microservice
- Policy microservice
- Claim microservice
- Member microservice
- Java 8
- Angular 8
- NodeJS
- Eclipse
- Maven
- Postman
Launch the above mentioned 4 microservices in your IDE. Import the project as Maven Project and wait for the dependencies to install. If any port is unavailable in your machine you can modify the port for the respective microservice in the application.properties in
Backend/Authorization-Microservice/src/main/resources/application.properties, you can modify your login credentials in data.sql file in Backend/Authorization-Microservice/src/main/resources/data.sql and you can do the same for other microservice applications.
After the 4 microservices are up and running launch the claimsApp angular application using ng serve -o.
The chrome window will load on it's own.
You can also check the working of the backend application by running it on Postman or Swagger.
The swagger file has already been added. Check your port no. and context path from the application.properties file and add swagger-ui.html to it.
For reference, localhost:8400/swagger-ui.html
The prototype was designed using Figma.
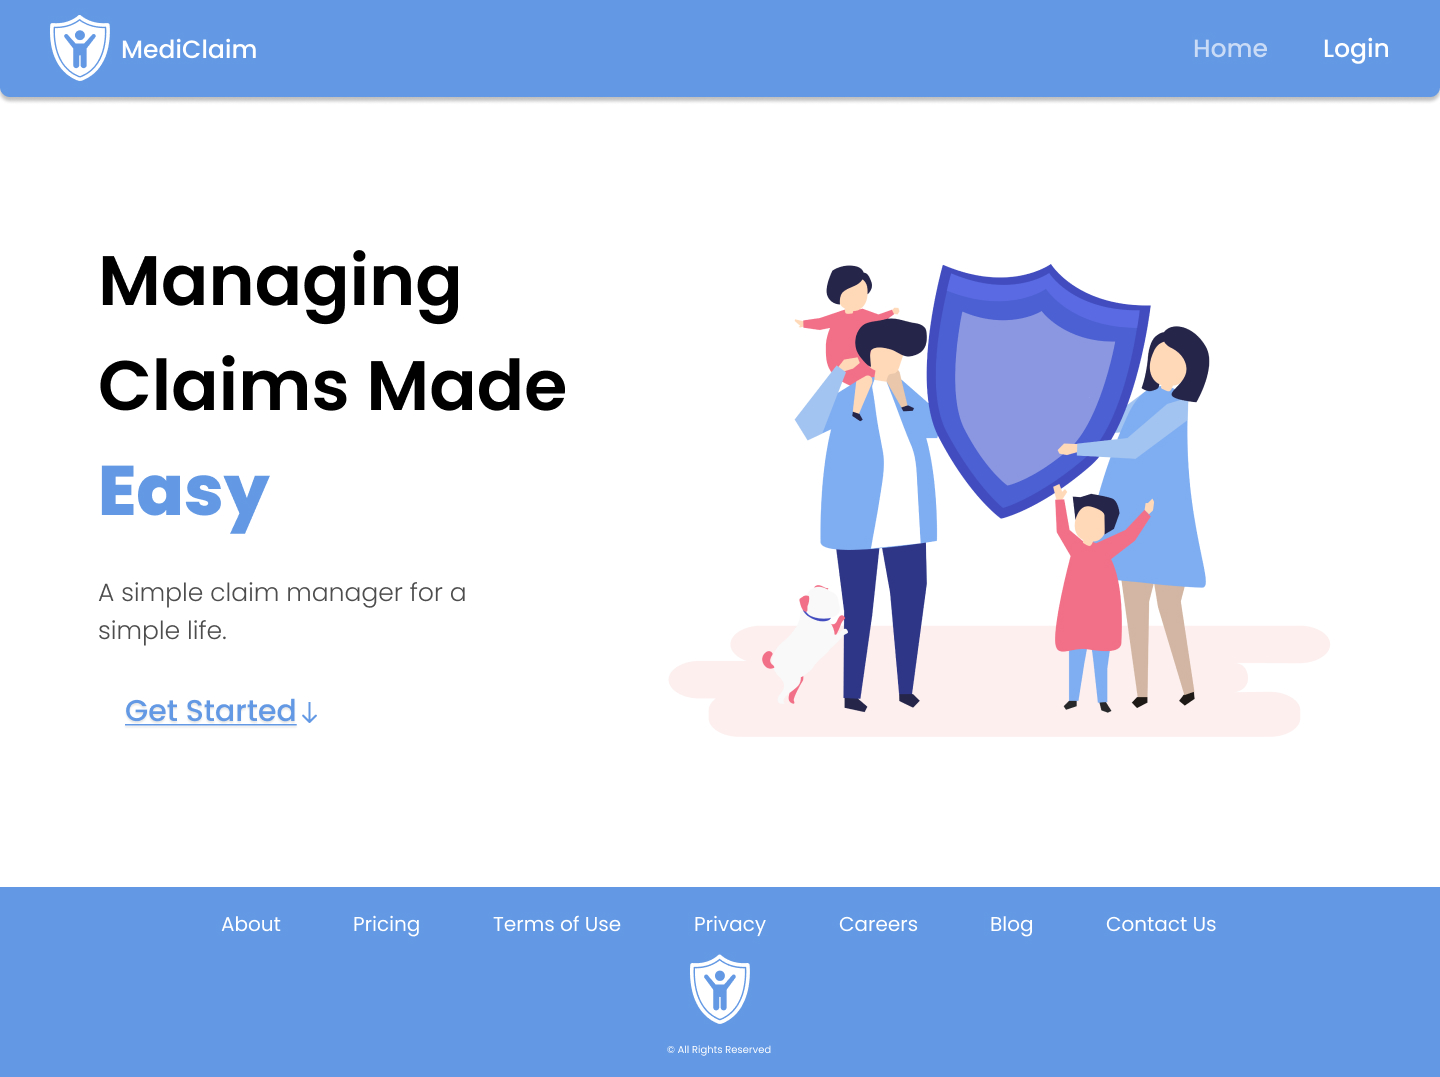
On initial launch of application the user is prompted to the home page of the application.
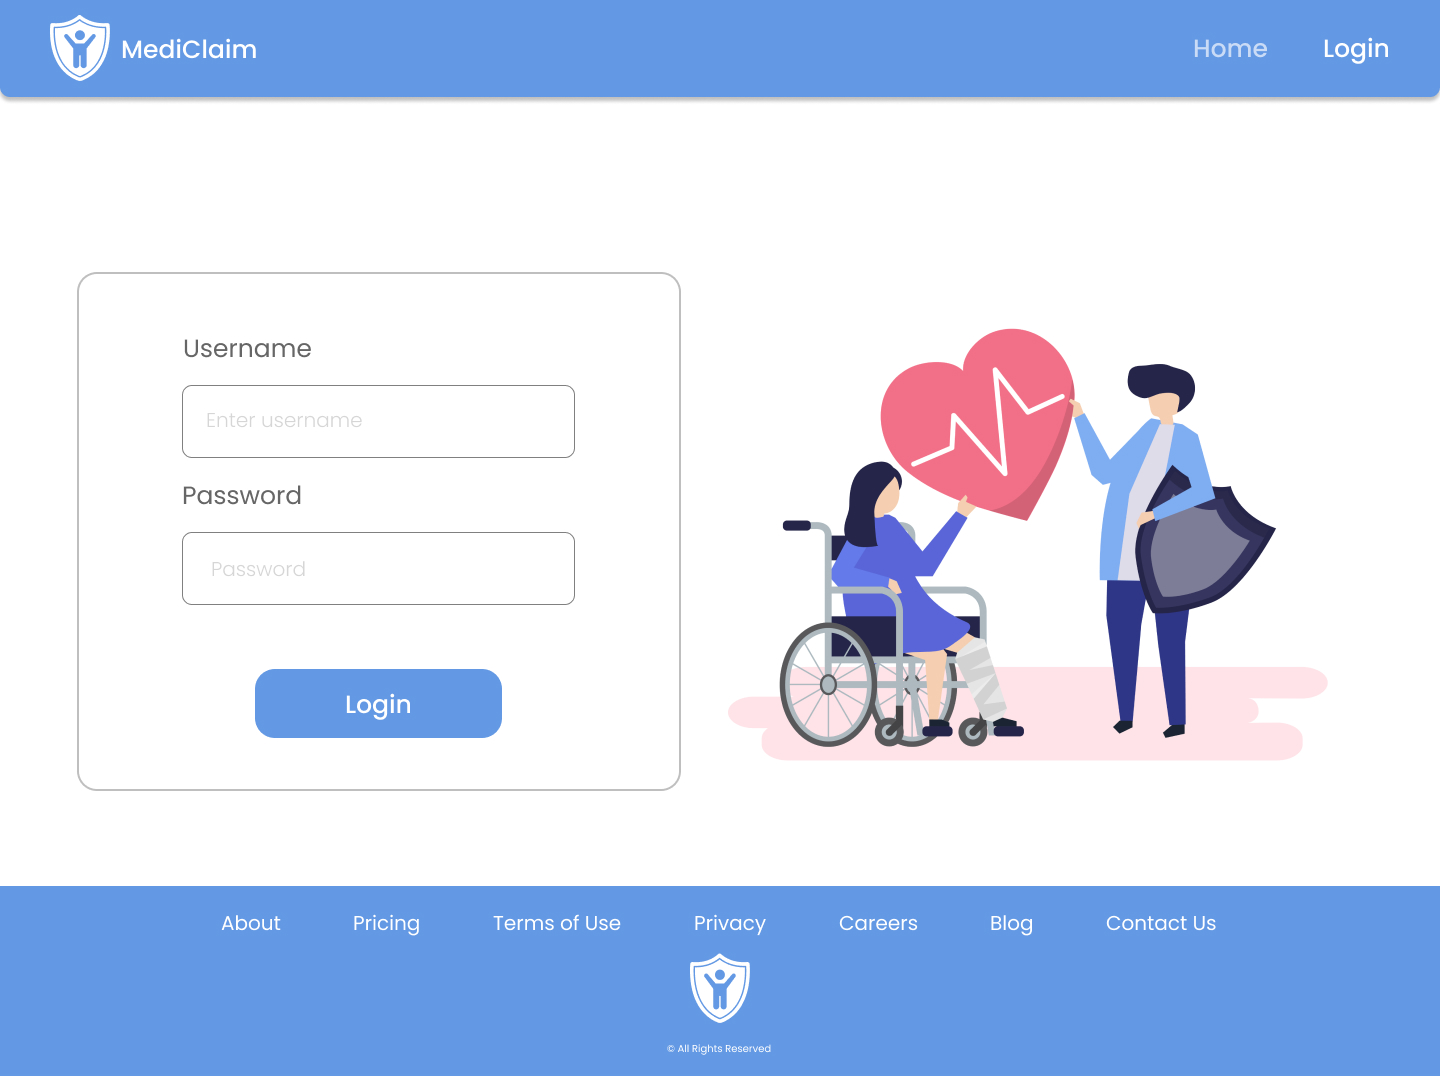
In the navigation bar user can click the Login button for authentication.
The user credentials is provided in the data.sql file of Authorization microservice.
You can now access the features as mentioned in the navigation bar.

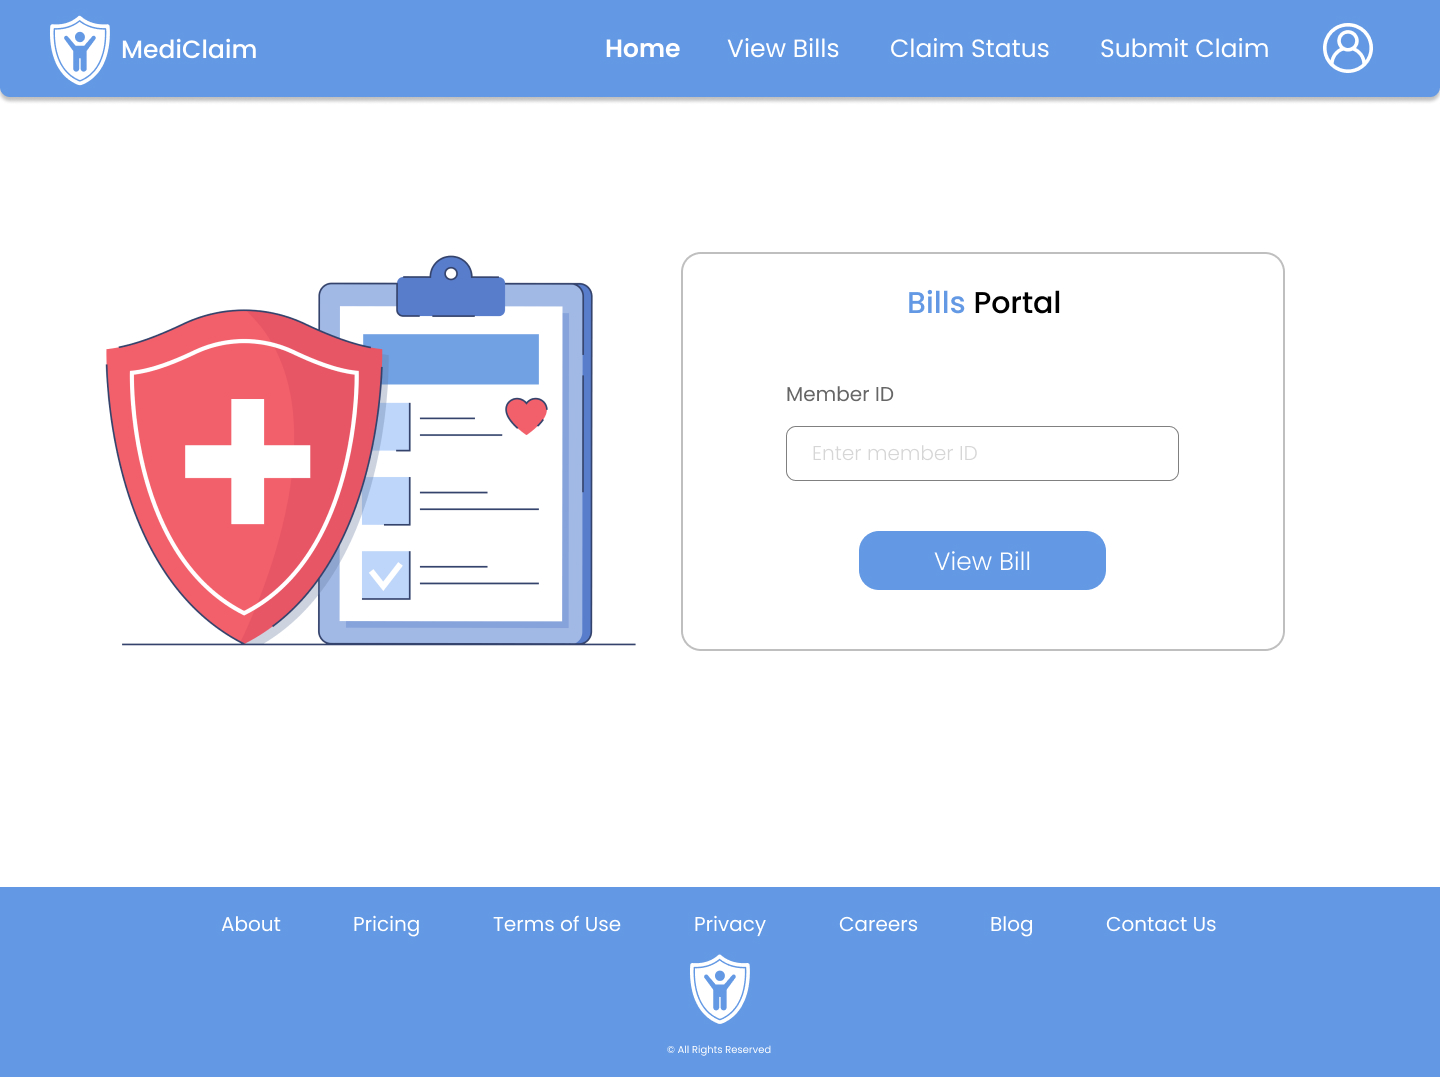
Registered users can enter their Member ID to view their bills which includes
- Due Amount
- Last Paid Date
- Premium Amount
You can look for the Member ID from the data.sql file in Member Microservice.
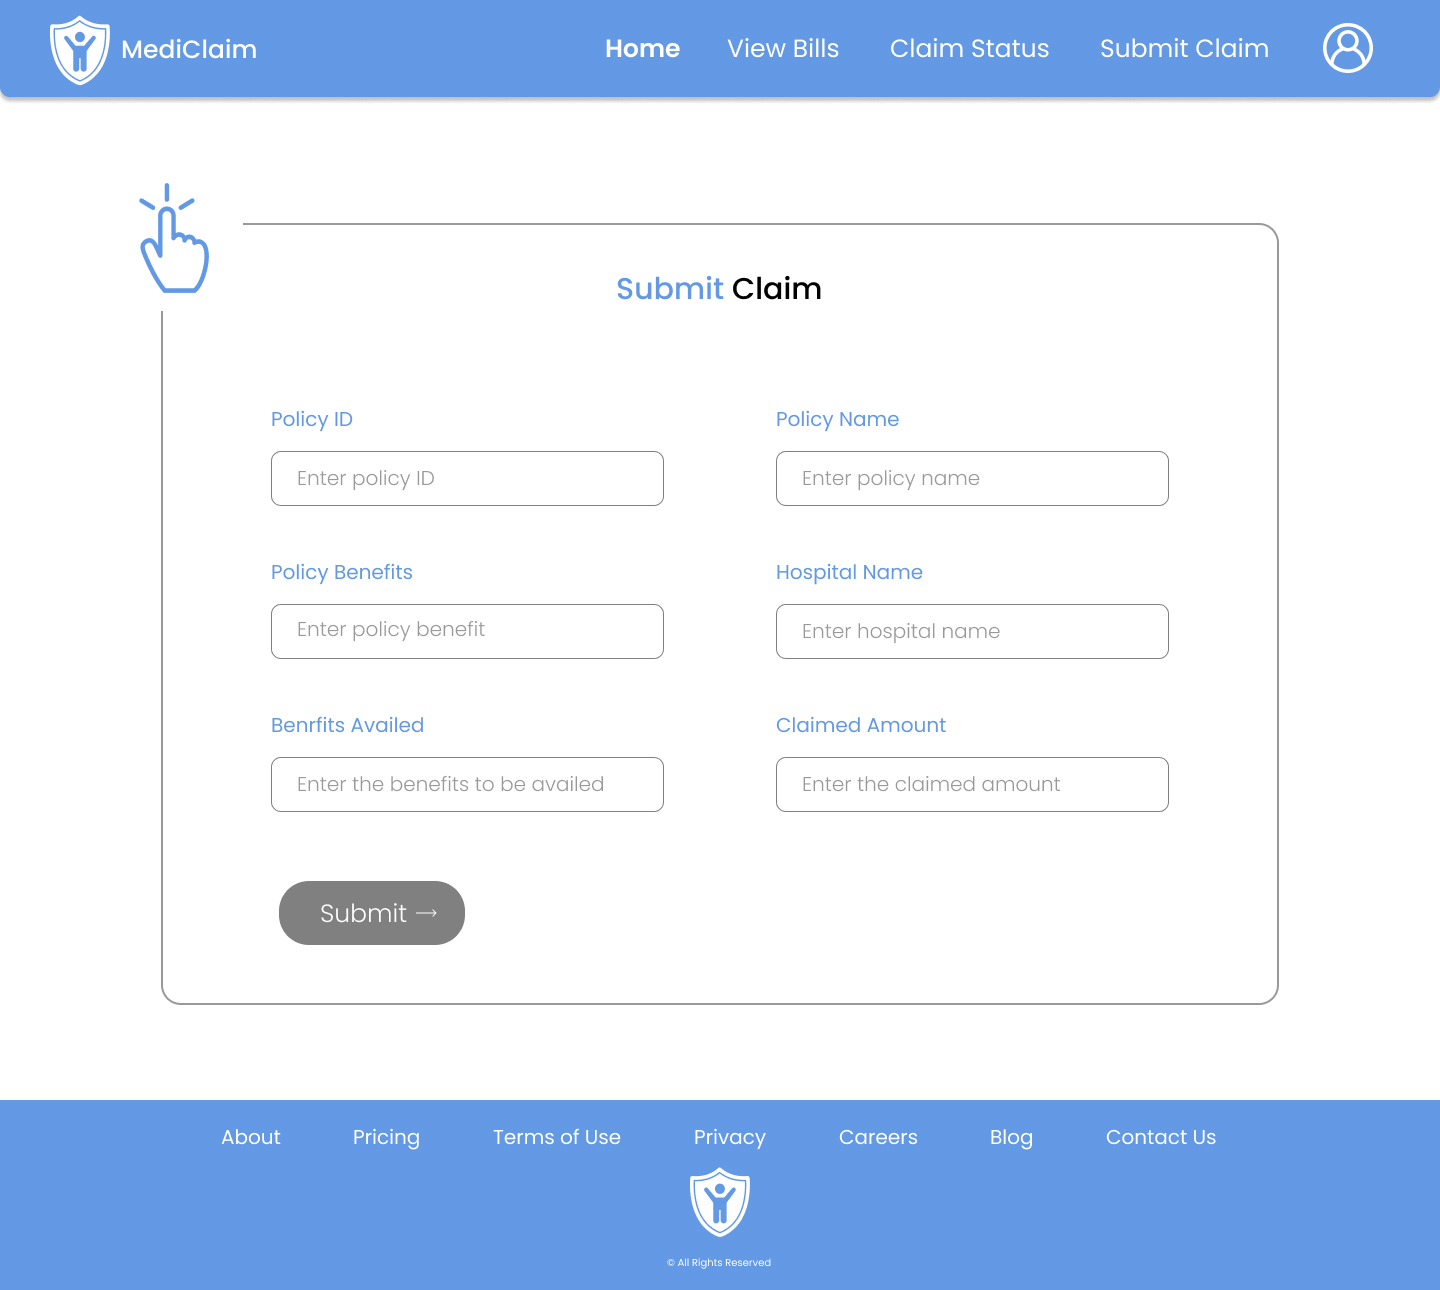
If a user wishes to submit a claim, the submit claim form can be used where the user can enter details regarding
- Policy ID
- Policy Name
- Policy Benefits
- Hospital Name
- Benefits Availed
- Claimed Amount
Based on the details provided the status of the claim is decided to be either Sanctioned or Rejected.
User will also be alloted a Claim ID for future reference.
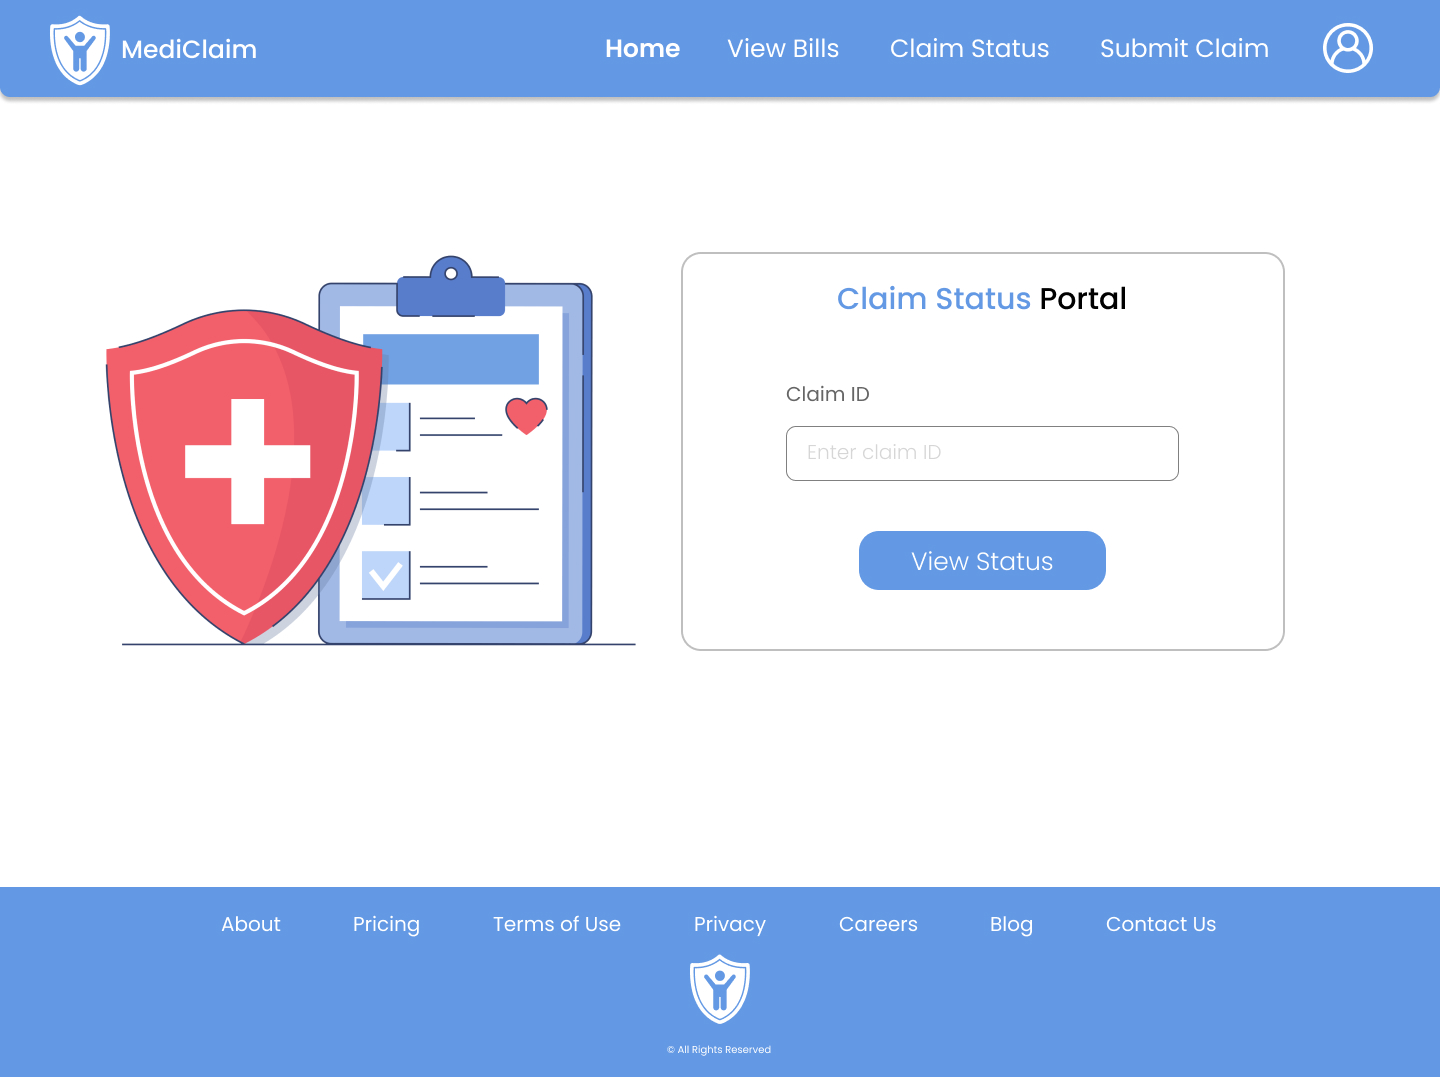
The user can view the claim status at any time using the Claim ID generated in the previous step using the Claim status portal.