A note taking application with CRUD, Folder, Authentication & Authorization, Recent Notes, Favorites, & Archived features.
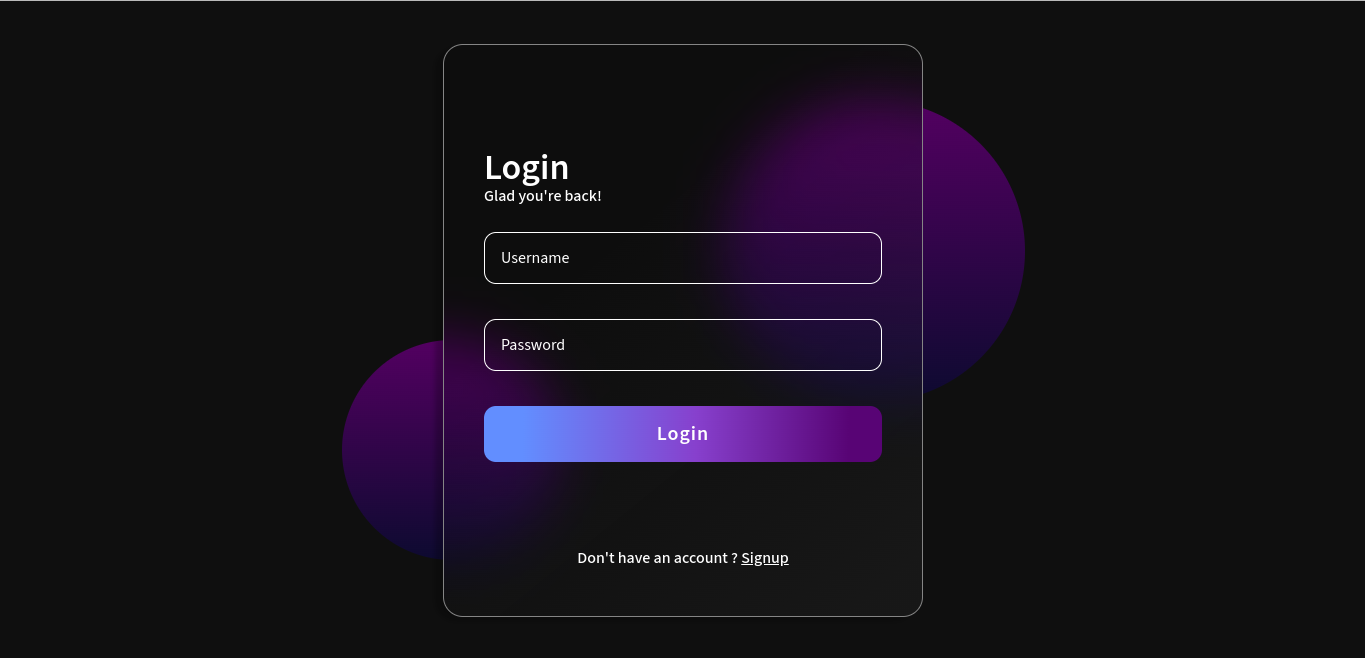
Login page. Design from Figma ( Daniel Carey )
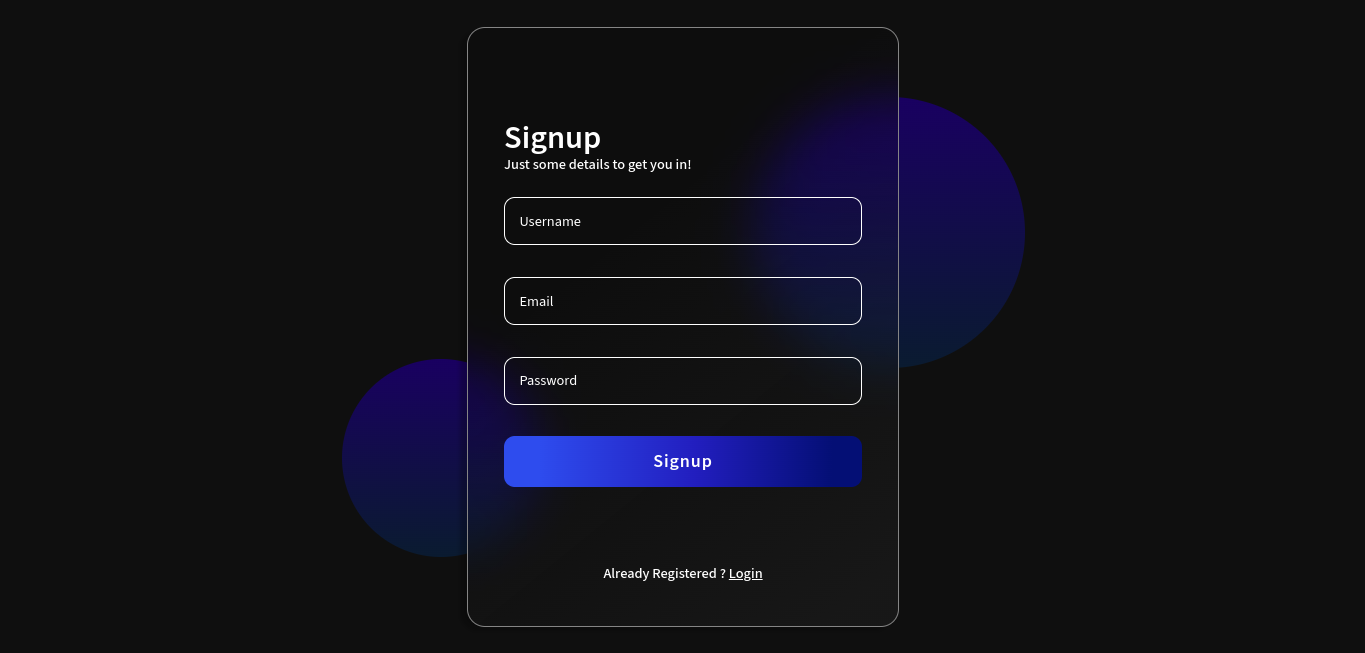
Signup page. Design from Figma ( Daniel Carey )
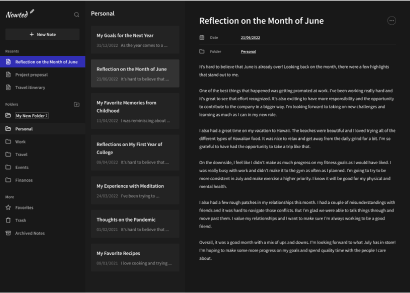
Main page. Design from codedesign.dev
The project is a note-taking application built using Typescript, React.js, Styled Components, Express.js, Postgres for database, and Redis for session. It incorporates three major features: CRUD Note, Grouping Notes into Folder, Authentication + Authorization, Recent Notes, Favorites, & Archived.
- CRUD (Create, Read, Update, & Delete) note
- Authentication & Authorization
- Grouping Notes into Folder
- Recent Notes
- Favorites
- Archived
- React.js
- Node.js
- Redux
- Typescript
- Styled Components
- Webpack
- Axios
- Express.js
- Postgres
- Sequelize
- Redis
- Bcrypt
- Umzug
- Nginx
- Docker
- Pipeline Github
Before running the application, make sure you have the following installed:
- Node.js (node-16)
- Docker
- Nix (Optional), run with
nix-shell. When running on Nix we don't need to install nodejs
- Clone the repository
git clone https://github.com/danggro/nowted.git- Go to the project directory and install dependencies for both the frontend and backend
cd frontend
npm install
cd backend
npm install- Build docker image & start application for development
cd ./frontend
npm install
cd ./backend
npm installNote: In development environment must intall the dependencies because docker container attached with volumes in folder frontend & backend
docker compose -f docker-compose.dev.yml build
docker compose -f docker-compose.dev.yml up- Build docker image & start application for production
docker compose build
docker compose upThe signup page can be accesses at the /signup route. Fill all input form (username, email, password) with valid value. If success page will navigated to login page
After user registered in to database, we can login with that username.
Click New Note on the left top of the page to show input form. Fill title, date, & content input with valid value then wait 5 second to be saved.
Click note list on the left page to read your note.
After specific note is show up it can be changed by click input, change the value, then wait 5 second to be saved.
Delete specific note with click 3 dot on the right top of the page and then click delete.
Click button beside title "Folder" to make a new folder then type something to give the folder name or it can be default "New Folder". Create new note when there's no folder yet it will create folder with name "Other" automatically
Select another folder in select box note view to move note into another folder
Click button trash to delete folder. If a folder have note in it, the note will be automatically moved into "Other" folder.
3 most updated notes are displayed in "Recent Notes" section.
Give a favorite mark by clicking "Favorite" in 3 dot popup to make certain notes special. All favorite notes are collected in the "Favorites" folder in "More" section.
Archive certain note by clicking "Archive" in 3 dot popup. All archived notes are only displayed in "Archived Notes" folder in "More" section
For deploying my application, I use Azure App Service, which allows for straightforward execution of Docker Compose by writing or simply copying the docker-compose.yml file from the application to Azure. Then, activate Continous Deployment, for Azure Container Registry can be activated directly, but for other registries like Docker Hub, it have to manually add Webhook URL to image repository on Docker Hub. But sadly my Azure Trial is expired so I don't have any live demo for this application :(.