![]()
![]()
RuneLog is a lightweight, file-system-based Python library for reproducible Machine Learning experimentation.
RuneLog is in active development. The core API is functional but subject to change.
The name RuneLog is a play on words. It's reminiscent of the common run.log() command used to log an experiment in tracking systems, while also treating these powerful, and sometimes mysterious, models as modern-day mystical writings: a "log of runes".
- Zero-Overhead Setup: start tracking runs in a single line
- Local-First, Lightweight: perfect for solo devs or small teams
- Portable & Transparent: data is stored in simple folders/files
This is the recommended way to install runelog if you just want to use it in your projects.
- Make sure you have Python 3.10+ installed.
- Install the library from PyPI using pip:
pip install runelogThat's it! You can now import it into your Python scripts.
Start tracking your ML experiments in just a few lines of code:
from runelog import get_tracker

# 1. Initialize the tracker
tracker = get_tracker()

# 2. Start a run
with tracker.start_run(experiment_name="my-first-experiment"):
    # 3. Your training code and logging calls go here
    tracker.log_metric("accuracy", 0.95)
Check the detailed Quickstart Guide for for a complete runnable example.
- Clone the repository:
git clone https://github.com/gonz4lex/runelog.git
cd runelog- Create and activate a virtual environment:
python3 -m venv .venv
source .venv/bin/activate # On Windows: .venv\Scripts\activate- Install in Editable Mode: Install the package and all development dependencies from your pyproject.toml file.
pip install -e .[dev]RuneLog uses Hatch to manage dependencies, environments, and scripts.
The primary command to enter a fully configured development environment is hatch shell. This will create a virtual environment, install all dependencies listed in pyproject.toml, and activate it.
hatch shellRuneLog uses Black for automatic code formatting. To format all project files, run the following command:
hatch run lint:formatThe test suite is run using pytest and the test environment is configured to automatically run tests with coverage:
hatch run testThis command is a shortcut for pytest --cov=src/runelog --cov-report=term-missing --cov-report=xml.
To preview the documentation site locally with live reloading, you can add a docs environment to your pyproject.toml.
hatch run docs:serveTo build the distributable package files (.whl and .tar.gz) just run:
hatch buildThe files will be created in the dist/ directory, ready for publishing.
You can find example scripts in the examples/ directory:
Full pipeline example with:
- logging parameters and metrics
- saving and registering models
- tagging and retrieving models
python examples/train_model.py # or use the CLI: runelog examples trainMinimal working example with only metric logging.
python examples/minimal_tracking.py # or use the CLI: runelog examples minimalSweep example with configuration file to define runs.
python examples/sweep/sweep.py # or use the CLI: runelog examples sweep- Core Tracking API: Experiments, runs, parameters, metrics.
- Artifact Logging: Save model files, plots, and other artifacts.
- Model Registry: Version and tag models.
- Streamlit UI: Interactive dashboard to explore runs and the registry.
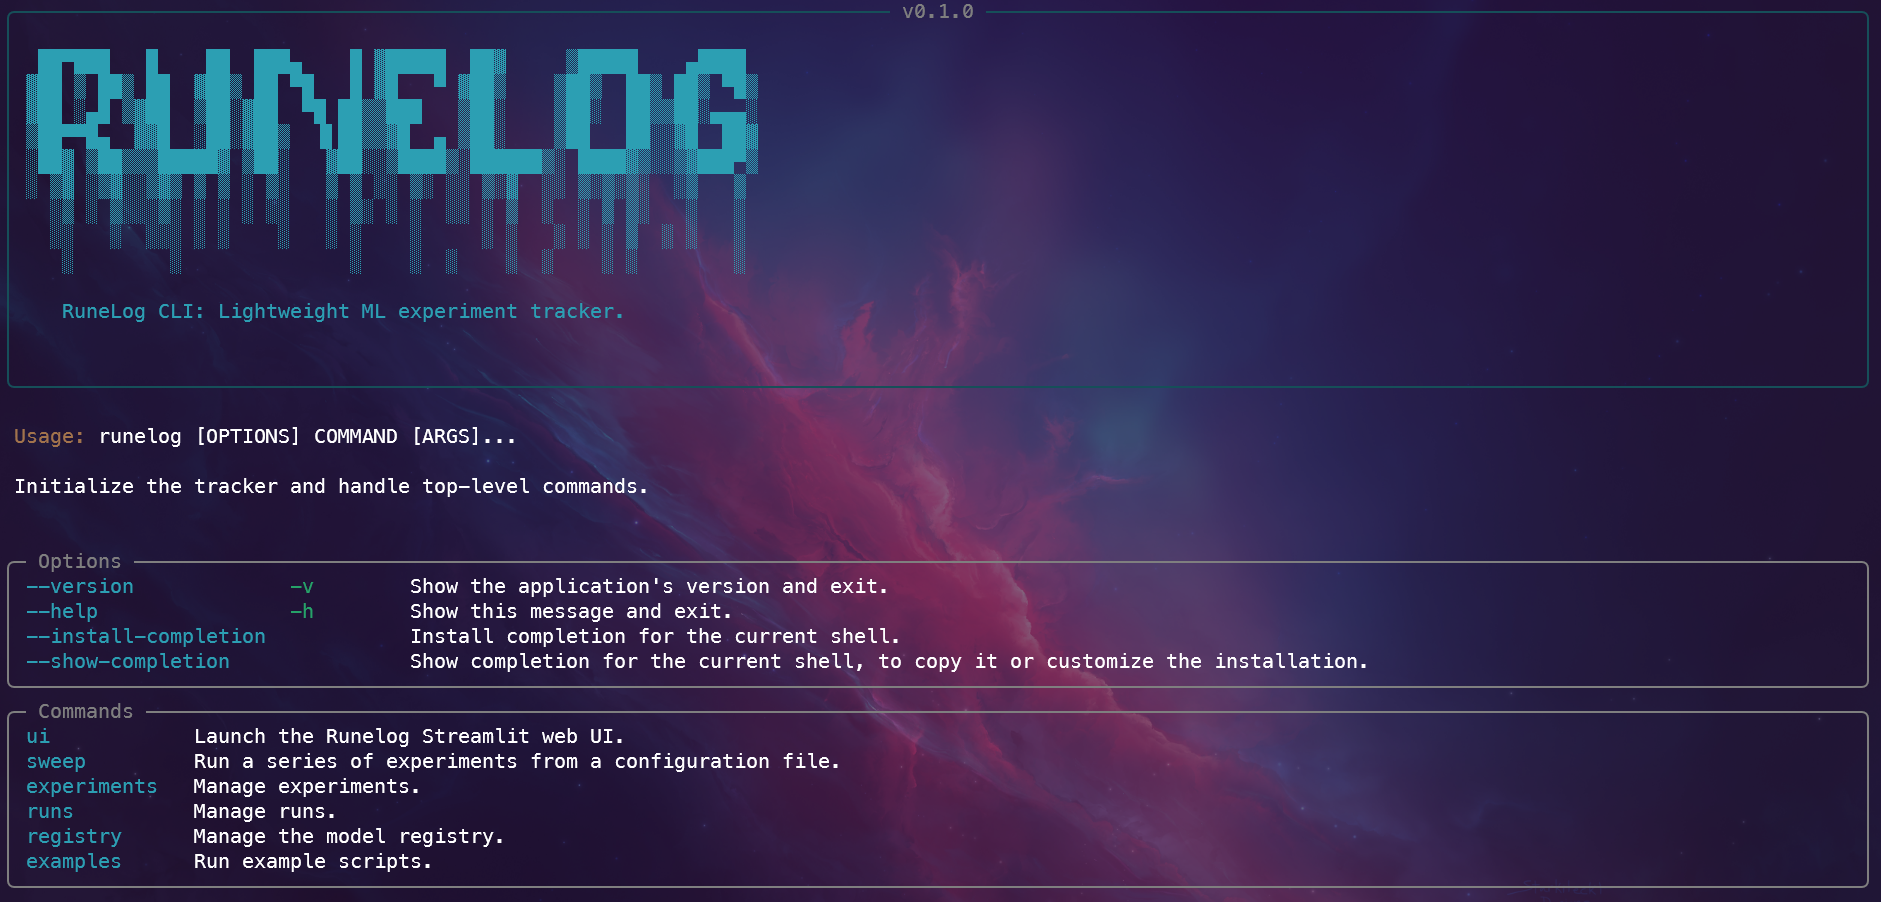
- Command-Line Interface (CLI) for programmatic interaction.
- Full Test Coverage: Comprehensive unit and integration tests.
The easiest way to run the Runelog web UI without setting up a local Python environment is with Docker. You must have Docker installed and running.
-
Build the Docker image from the root of the project directory:
docker build -t runelog-app . -
Use
docker-composeto start the application:docker-compose up
-
To access the UI, open your web browser and navigate to: http://localhost:8501
-
To stop the application, press
Ctrl+Cin the terminal, and then run:docker-compose down