Jasper Reports
The software used for creating Jasper reports is Jaspersoft studio. Once installed start the application.
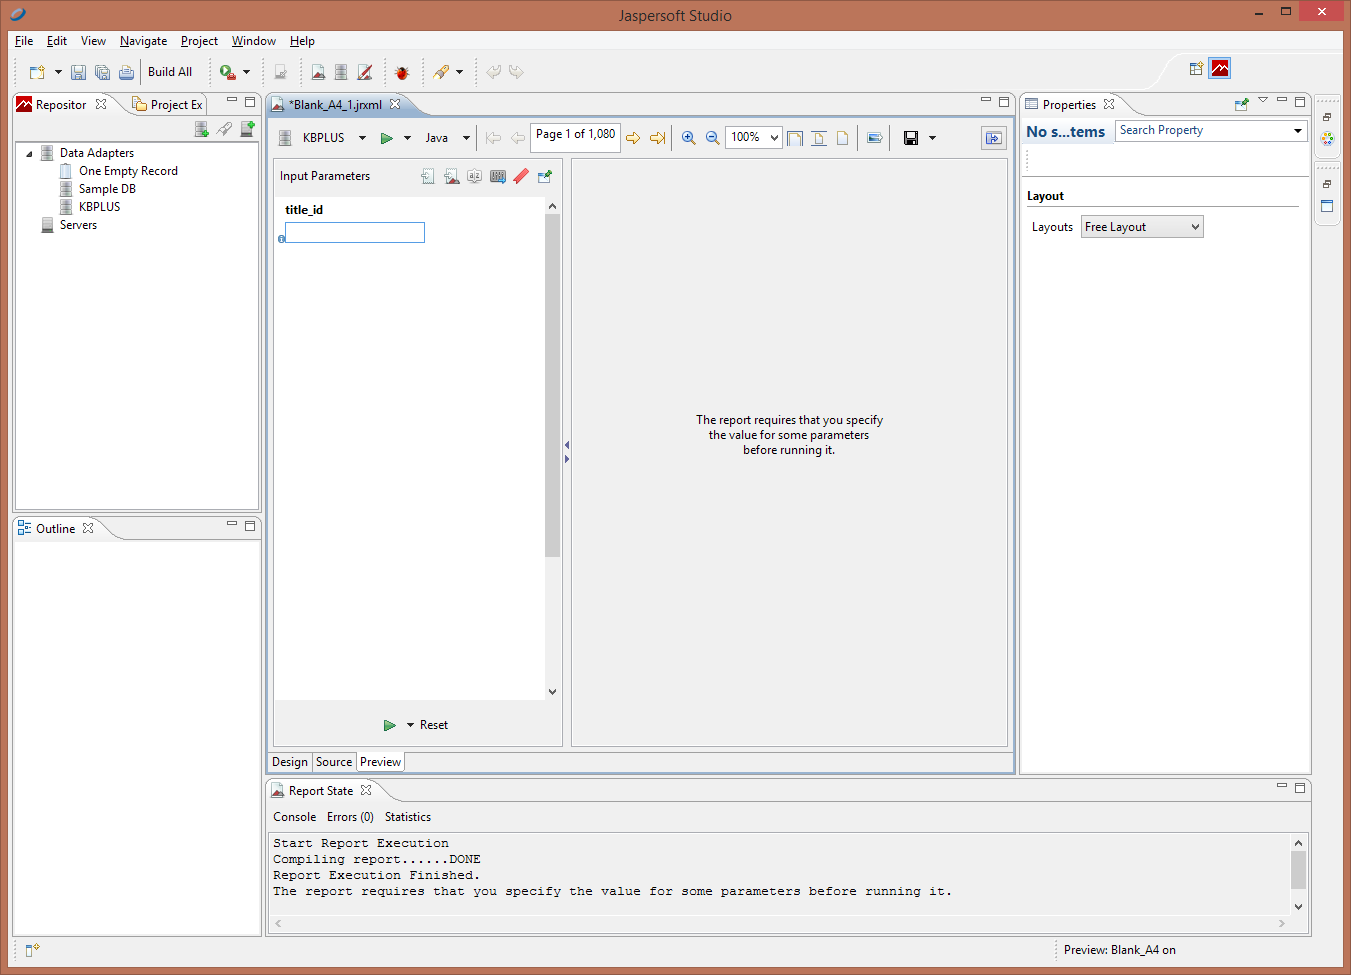
The standard interface once started should look similar to the following screenshot:
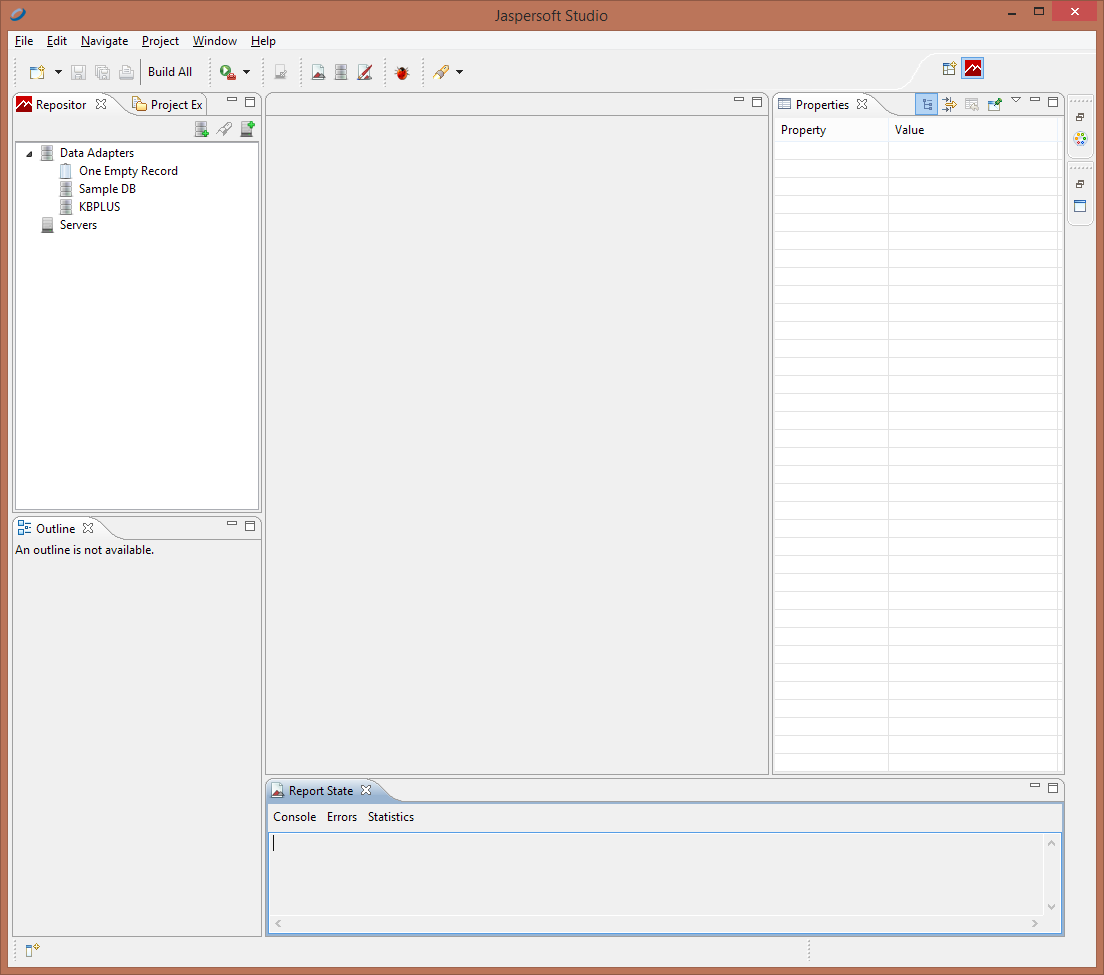
To create a new report go to File > New > Jasper Report. Select the blank report and click next

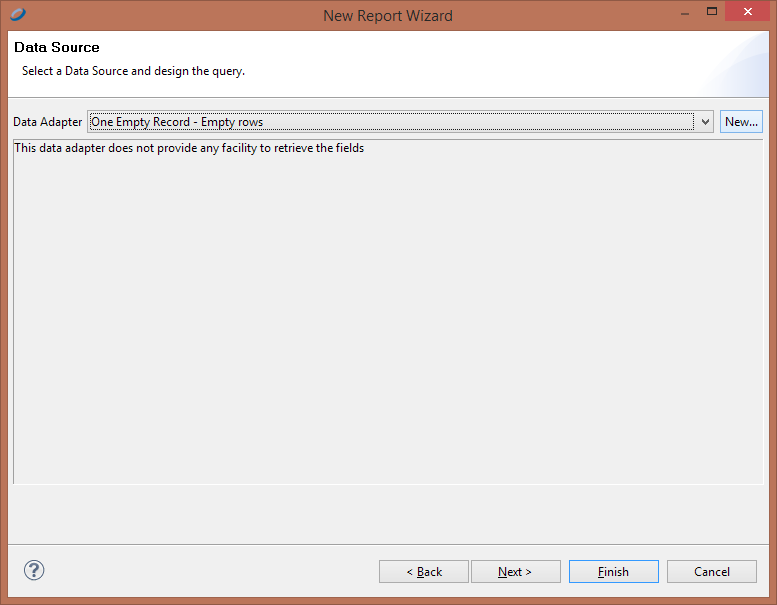
Type name and save location. On the next screen we select the datasource for the report. For KB+ the datasource is a SQL database. On the left of the select box, click 'New...'
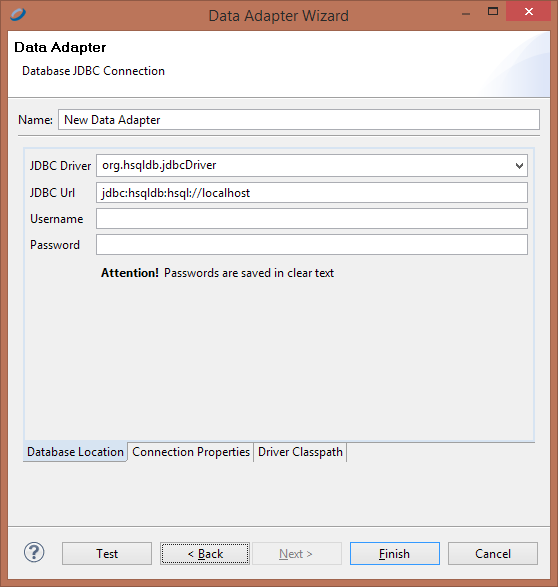
Next enter the connection details for the database.
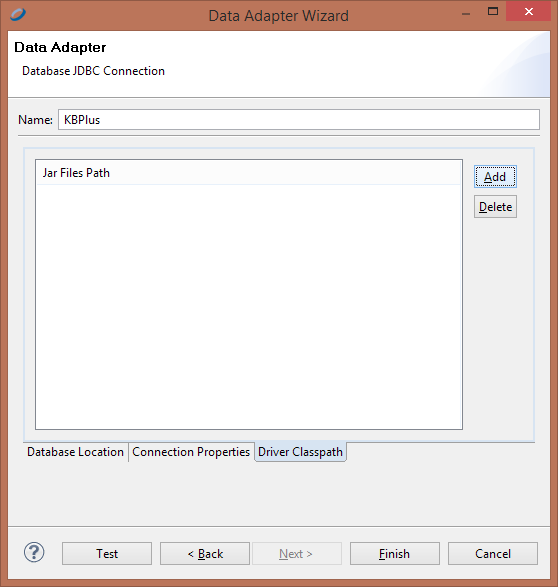
It is likely that you will need to set the Driver Classpath. For mySQL databases, this is usually located in the mysql installation directory, under Connector directory.
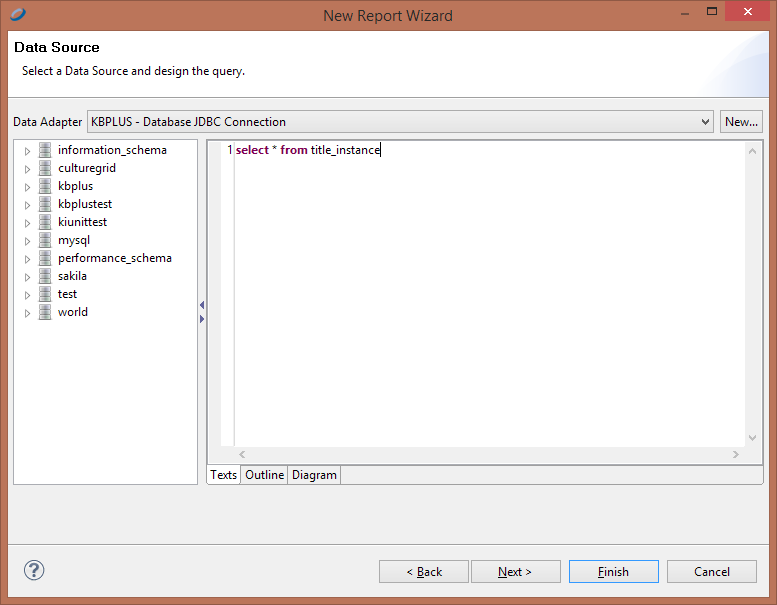
On the next screen we can see the contents of the database, and create the SQL query that will pull data on the report. For the purpose of this tutorial we will use a very basic query. This query can be edited later as well. Click next
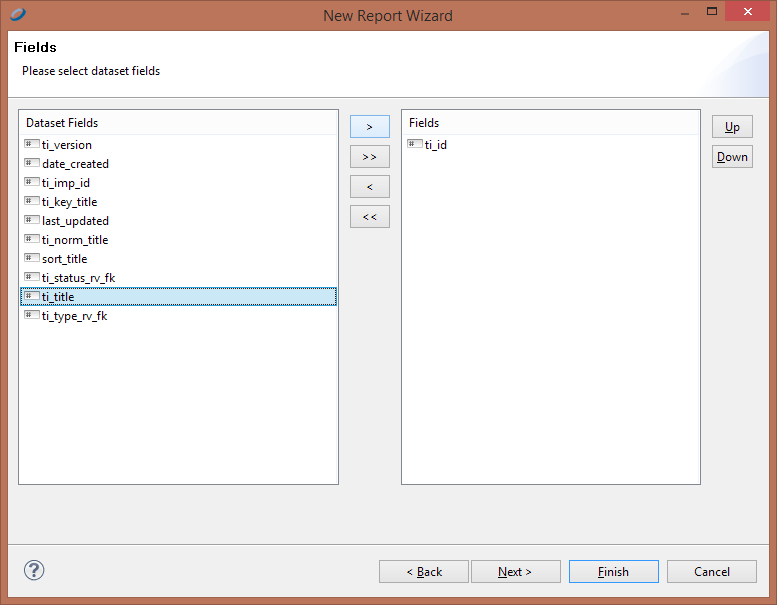
On this screen we get to select which of the fields returned by our SQL statement we want in the report. Select ti_id and ti_title and click finish.
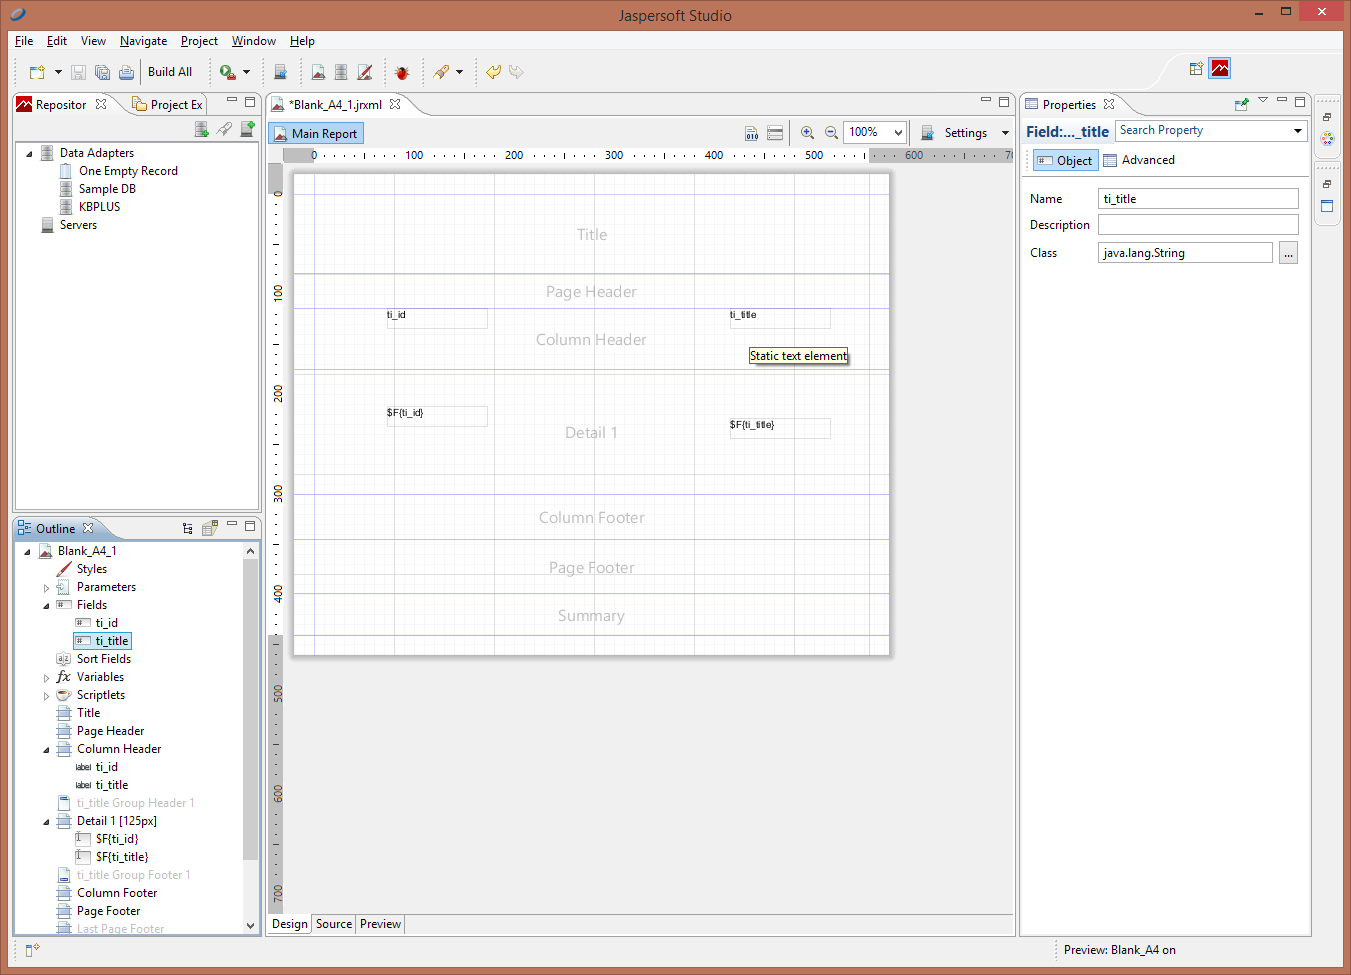
We are back on the main screen of the editor. On the outline window ( bottom left) under fields category we can see the two fields we selected earlier. Drag those fields on the Detail 1 section of the visual editor. This will also create a label for that column.
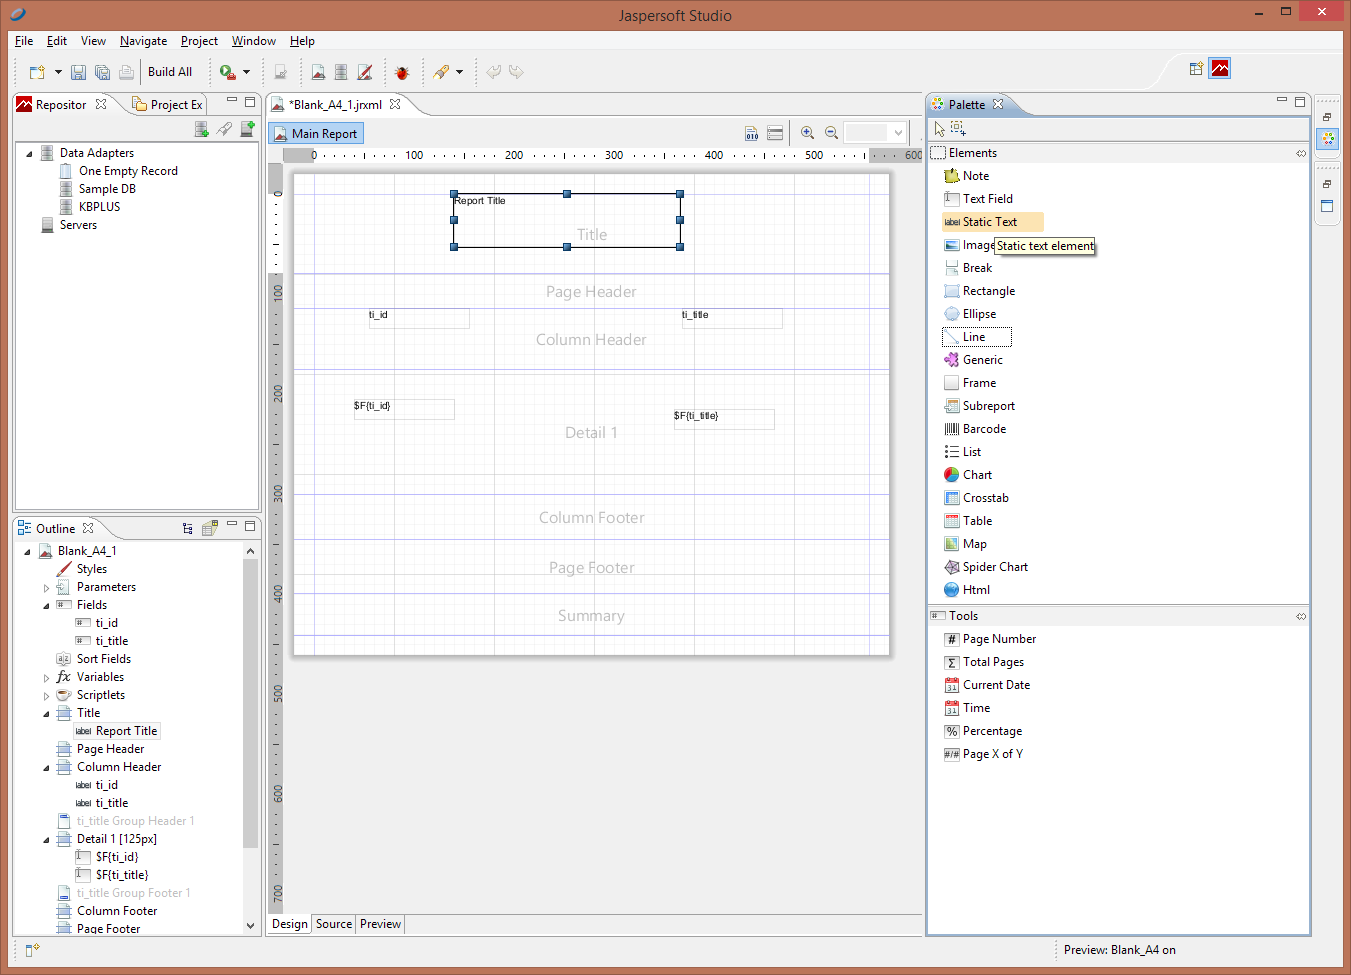
Next, click on the Palette window (if not visible, it should be minimized on top of the right edge. Select 'static text' and drag it on the title area of the editor.
(Optional) Next delete all sections except Title, Column Header and Detail 1. This is done by selecting the section on the editor and pressing delete. Also, drag a line element from the Palette and place it bellow the title and id fields. Set the height to 2px so that it stays flat.
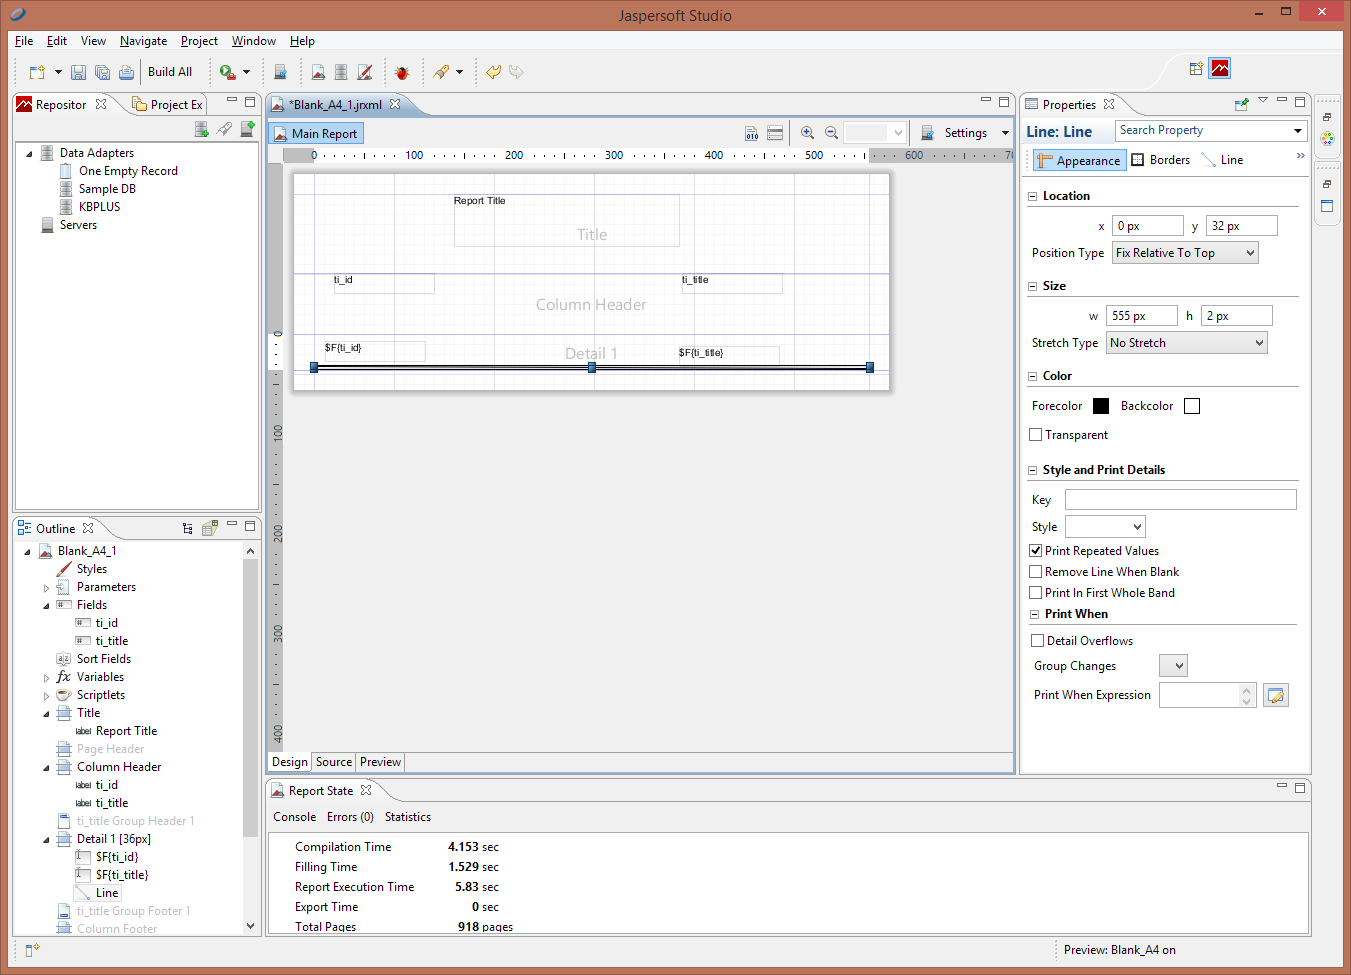
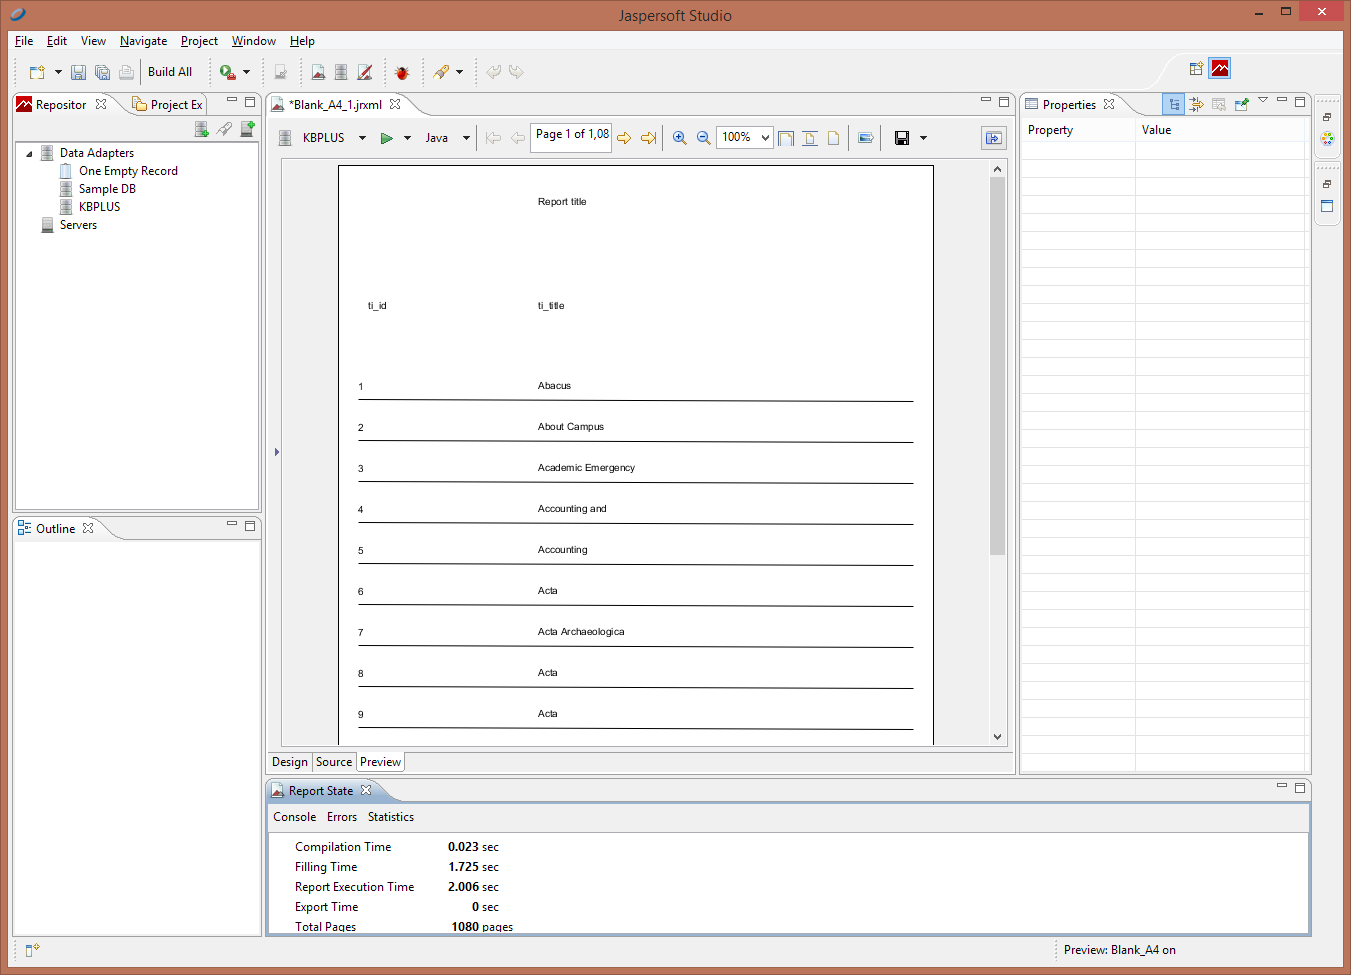
Next click on the 'Preview' tab, it should be bottom left of the editor page. Depending on your database data you should see something similar to the following :
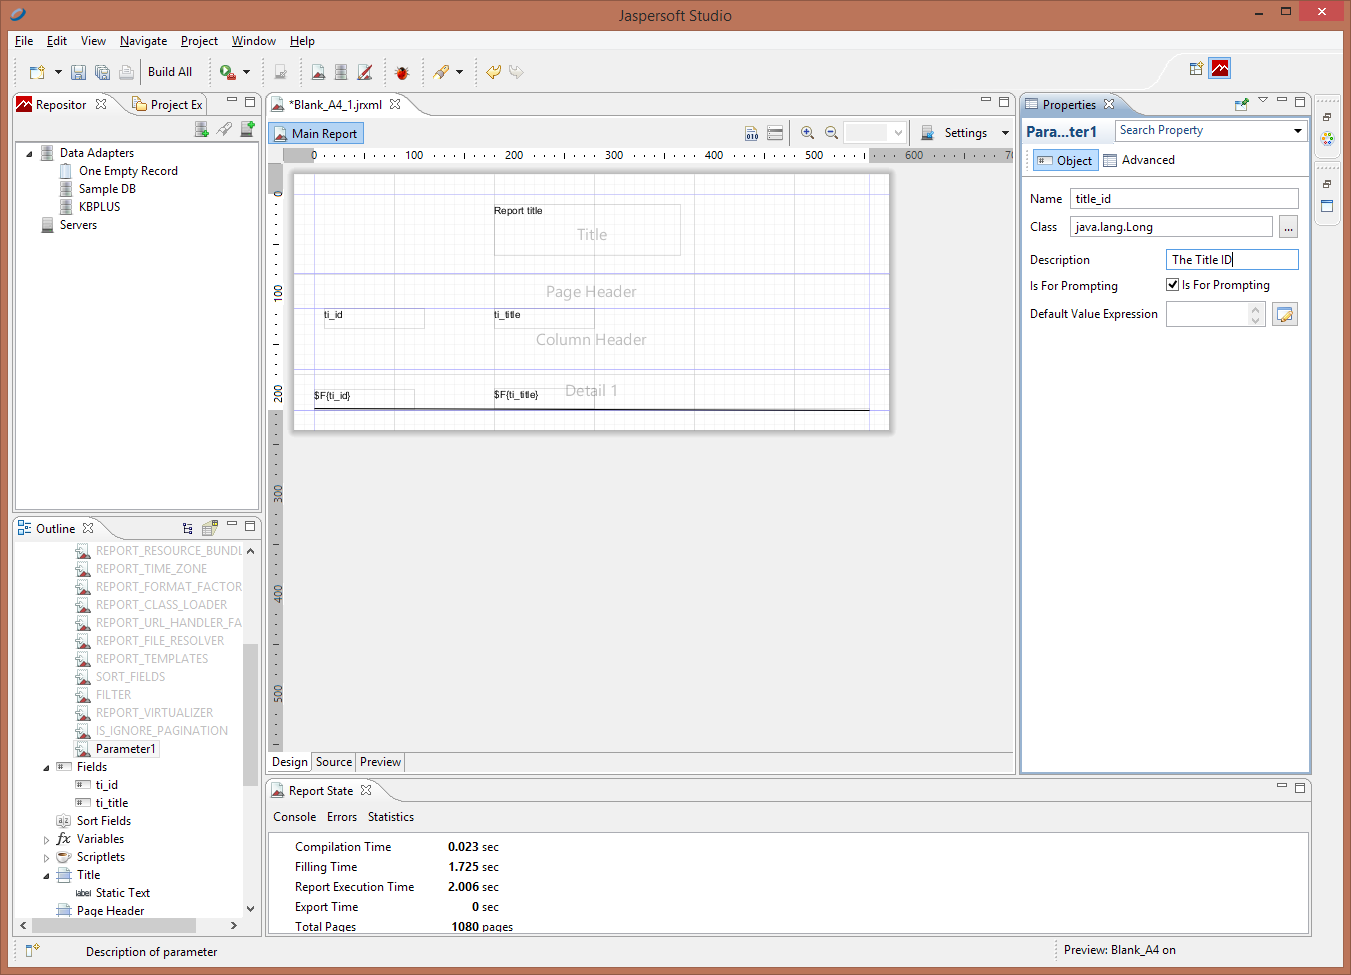
#####Adding parameters Go back to the design tab. Right click on 'Parameters' on the 'Outline' Window (bottom left), and select 'Create Parameter'. The new parameter will be on the bottom of the list. When selected a properties window appears on the right of the screen. Enter the name, description (This will be visible on the interface, explaining what input is expected), and make sure the 'Is for prompting' is checked.
Next right click on the report name in 'Outline' window which is the root of all objects. Select 'Dataset and Query'. Modify the query so that it can make use of user input. The syntax for this is '$P{[parameter name]}'
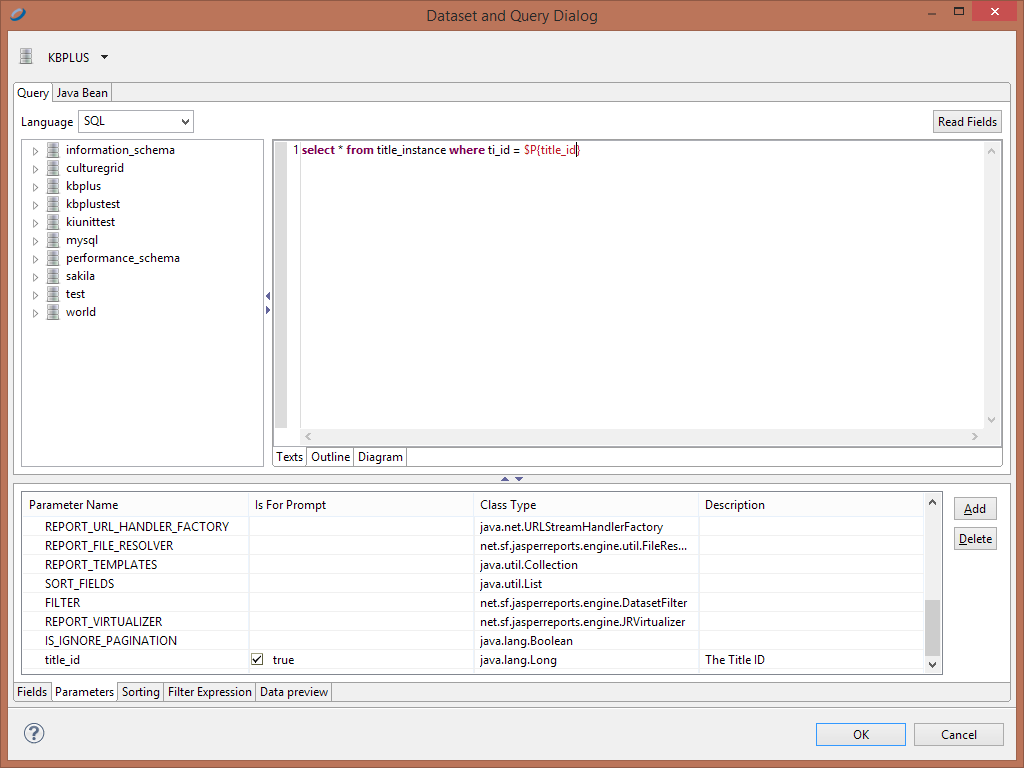
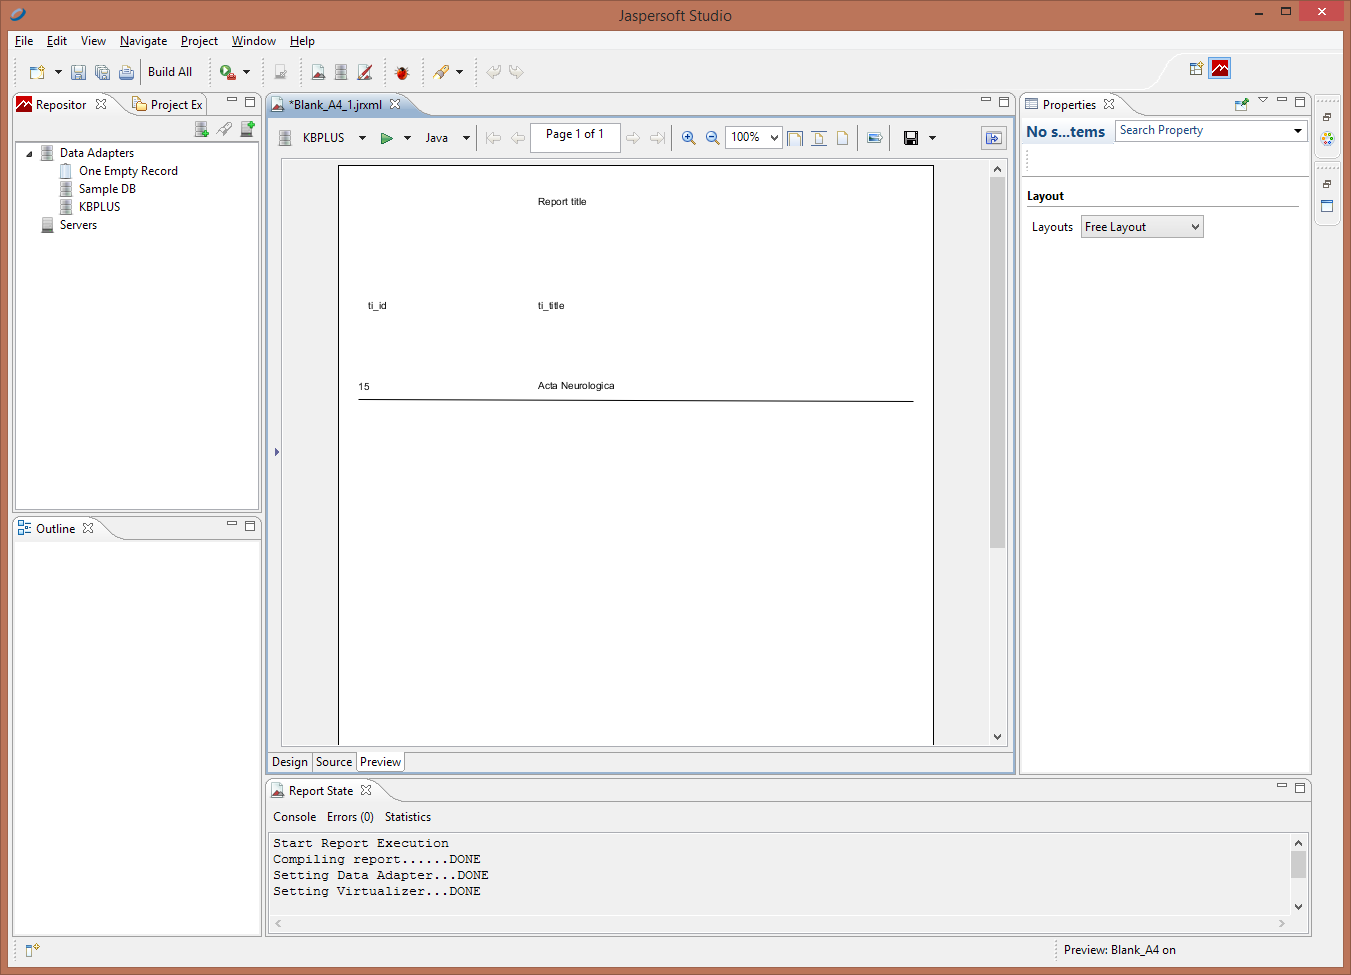
Click 'Ok' and you should be back to the main screen. When you get back to the preview tab, it should now be expecting for user input.
Enter a title ID, and the resulting report should only contain that title
Log in KB+ and navigate to Admin Actions > Upload Report Definitions. Next click browse and select the report you created. It should have the suffix .jrxml. The selector can accept multiple files. When selected click 'Upload files'. If the upload is successful a message saying 'Upload successful' will appear.
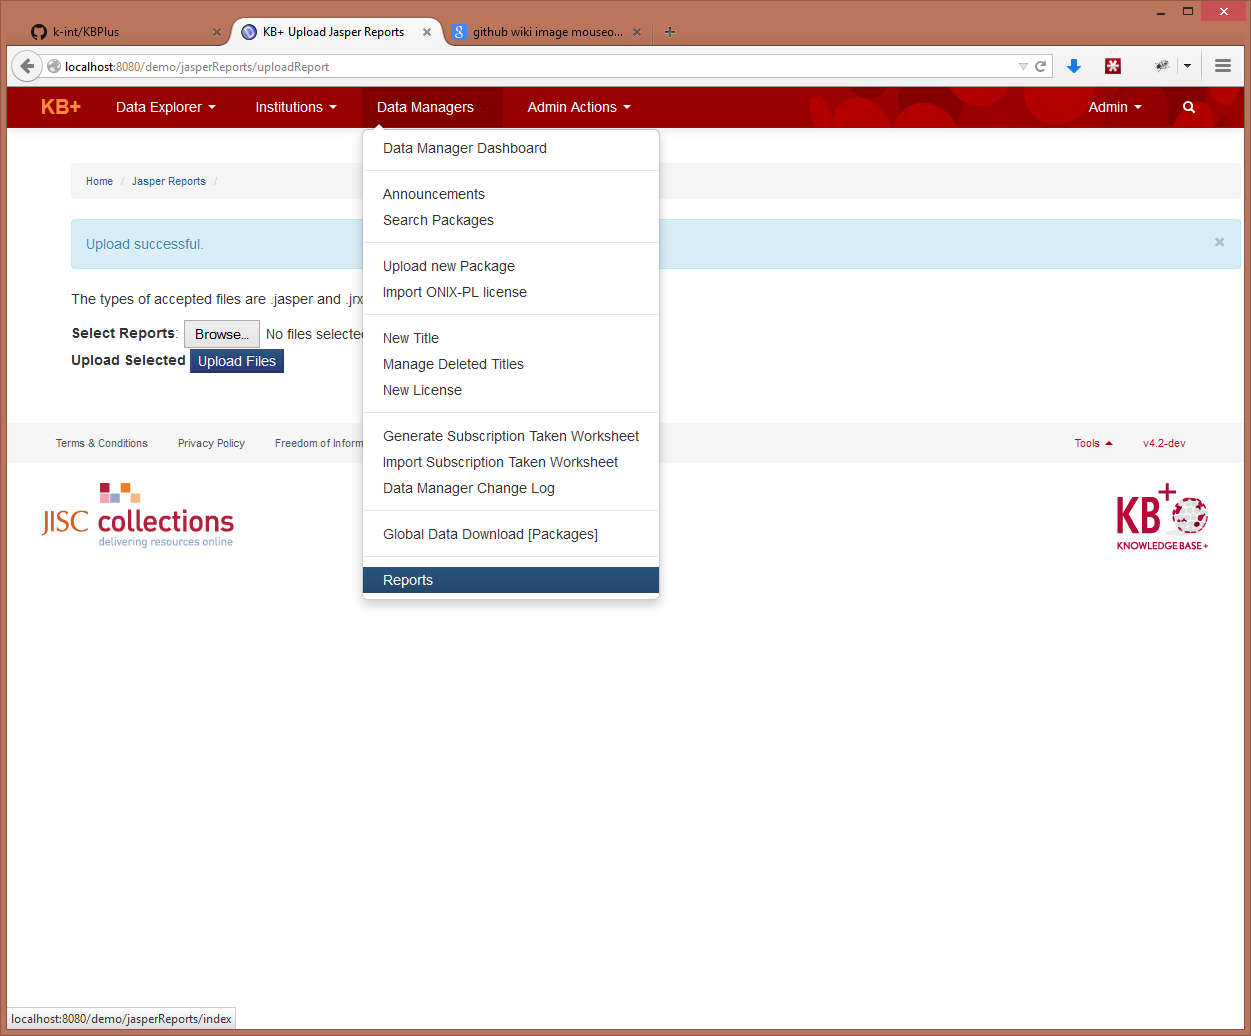
Finally navigate to Data Managers > Reports.
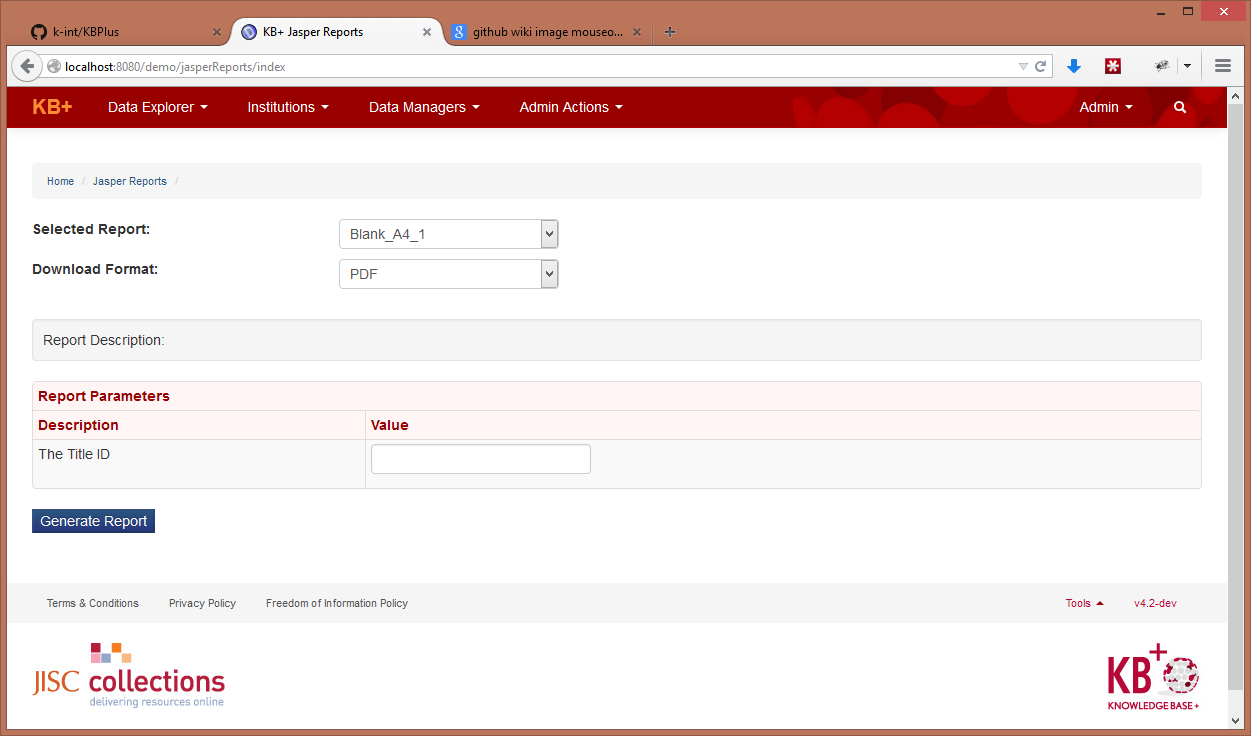
From the dropdowns select the report uploaded, and the desired format. When the report is selected, a textfield should appear with the description assigned to the parameter created in the report earlier. Add the desired ID click 'Generate Report'
Every report parameter that should be processed when parsing a jrxml, should have the 'Is for Prompting' attribute checked. Parameters without this attribute are ignored by KB+.
###Adding a report description message Every report should have a parameter called 'report_description'. This should contain the text that describes the purpose/use of this report. Report description text is visible when a report is selected in the Reports screen, and it is displayed above the table with report parameters.
There are two approaches to results counter, one is using SQL counter, and the other is using a jasper report variable. The variable to use is called 'REPORT_COUNT' and it is found under outline menu > Variables. Drag this on the desired position of the report. While this is selected, on the properties tab (bottom right) go to textfield, and make sure 'Evaluation Time' is set to 'Report'. This variable will now display the number of results when the report is loaded.
For parameters that require a date input, the parameter name should contain 'date'(e.g 'start_date') and also have a class of 'java.sql.Date'. This allows the JasperReportsController to parse dates correctly.
Parameters that need a select2 search box, for providing an ID number, need to contain 'search' string in the parameter name. Also, the parameter class should be the class that select2 will be searching for. For example, to add a parameter that will be rendered as a select2 search box for picking a Package ID, we need to name the parameter like 'search_pkg_id' and also set the parameter class to 'com.k_int.kbplus.Package'.
To create a select box, the parameter name must contain the word 'select' at the beginning. Next, a '&' symbol must be placed before each option for the select box. For example 'select&OptionA&OptionB'. In case there are several select boxes are required, text can be inserted before the first '&' to create unique names. For example 'selectboxA&OptionA&OptionB'.
It is possible to specify several SQL queries, and select which to execute based on user input. This functionality is used on previous_expected_pkg. The process of how to achieve this is described here, and here Following are the steps to use the conditional SQL Statements.
-
Create a parameter if you want user triggered change of the SQL Query , if not user triggered then it must be based upon the field, so that can be used too.
-
Create a different parameter which will be responsible for triggering the changed query based upon the condition.
-
Now identify the condition which is responsible for changing the query,
-
The parameter which contains the conditional SQL switching should have the property "Used as prompt" turned off and the condition should be placed in the default value. The SQL within this statement must be formatted to be a single line (no linebreaks).
-
Then after setting this, move onto set the Report Query Expression. Now see the dynamism of the query could be provided to the whole query or a portion of query so accordingly place the expression .The parameter containing the conditional expression should be used as the expression and it should be denoted as $P!{name of the param containing expression}
In order to generate correct CSV/table exports, it is important that there is perfect alignment between column names and values. This can be done by checking the x,y coordinates of items, as well as their width and height values. If items are not aligned correctly, output of tables is likely to be wrong. More information here: http://community.jaspersoft.com/wiki/making-html-xls-or-csv-friendly-reports
The following Report Export properties are used by the exporters to create default exporter filter instances that filter out content based on element origin information:
net.sf.jasperreports.export.{format}.exclude.origin.{suffix}.{arbitrary_name}
net.sf.jasperreports.export.{format}.exclude.origin.keep.first.{suffix}.{arbitrary_name}
| Where: | |||
| {format} | is one of | pdf, html, xls, rtf, odt, csv, txt | |
| {suffix} | is one of | band, group, report |
The usage of these properties is discussed in detail in the custom wiki page at how-can-i-suppress-page-headers-and-footers-when-exporting-xls
Starting in JasperReports Server 4.7.1, an addition was made to allow export filter propagated to sub report element. This is in response to a need for the export filter to work with Jive enabled report HTML output through report table elements introduced in 4.7.0 release of our product. User will need to add a wild care property setting to reference to the original filter in order to make the filter work in main and sub elements of a report. For example, to suppress column header band from the XLS export but to keep only its first occurrence, users need to code the following property:
net.sf.jasperreports.export.xls.exclude.origin.keep.first.band.3=columnHeader
A new property needs to be added so that the filter applies to all columnHeader bands in all subreports, regardless of their suffix. They are associated by the arbitrary_name.
net.sf.jasperreports.export.xls.exclude.origin.keep.first.report.3=*
The final setting will look like the following - It is important to keep their arbitrary_name the same (as 3 in this case) or it will not work.
net.sf.jasperreports.export.xls.exclude.origin.keep.first.band.3=columnHeader net.sf.jasperreports.export.xls.exclude.origin.keep.first.report.3=*